Paver Patio Design & Installation: Create Your Dream Outdoor Escape

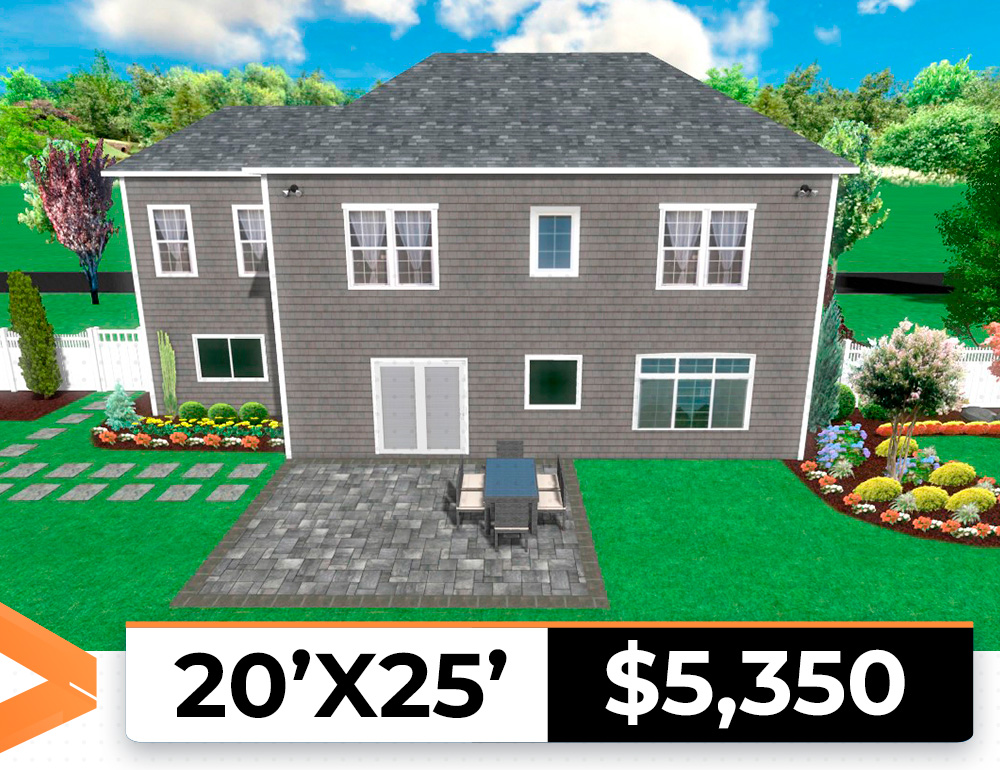
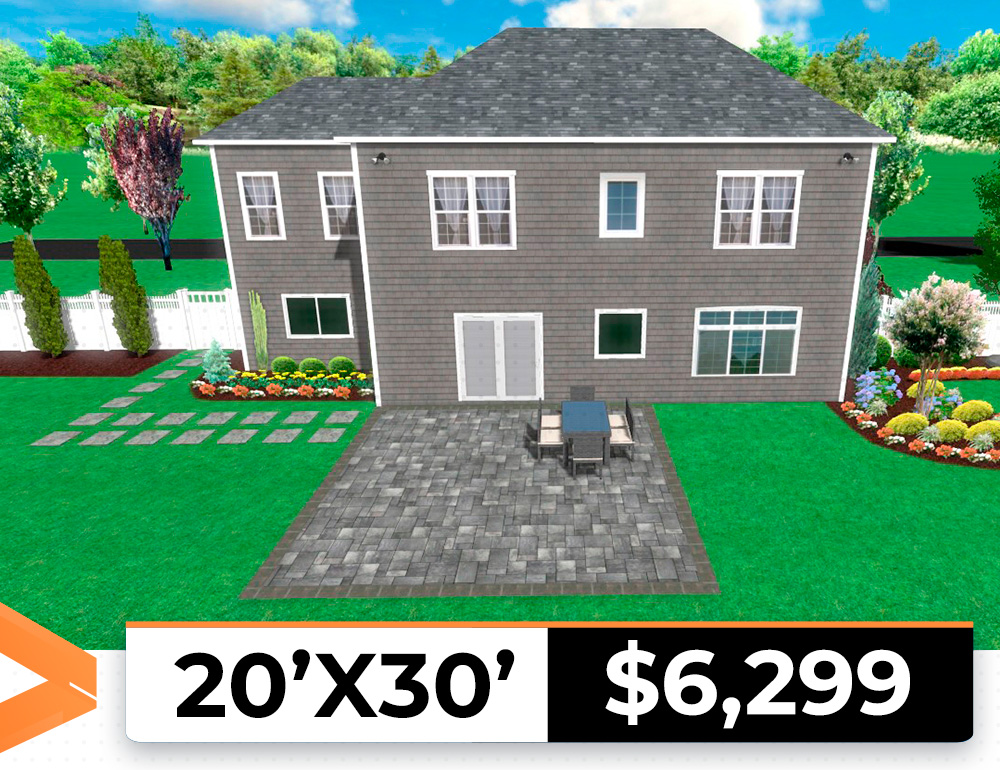
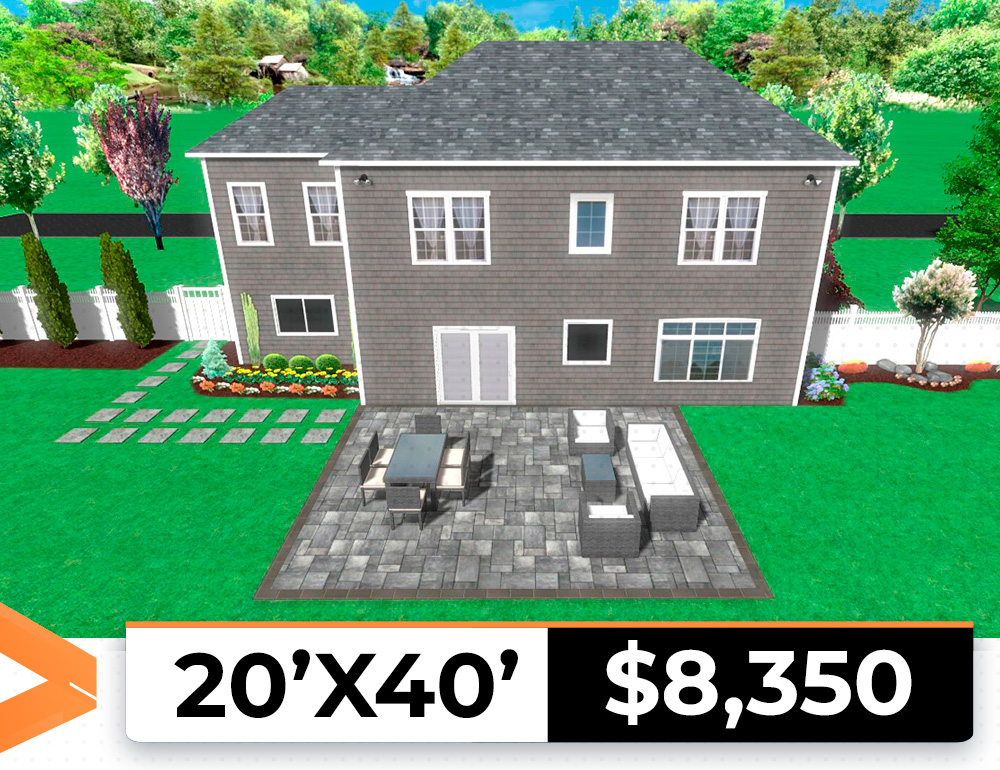
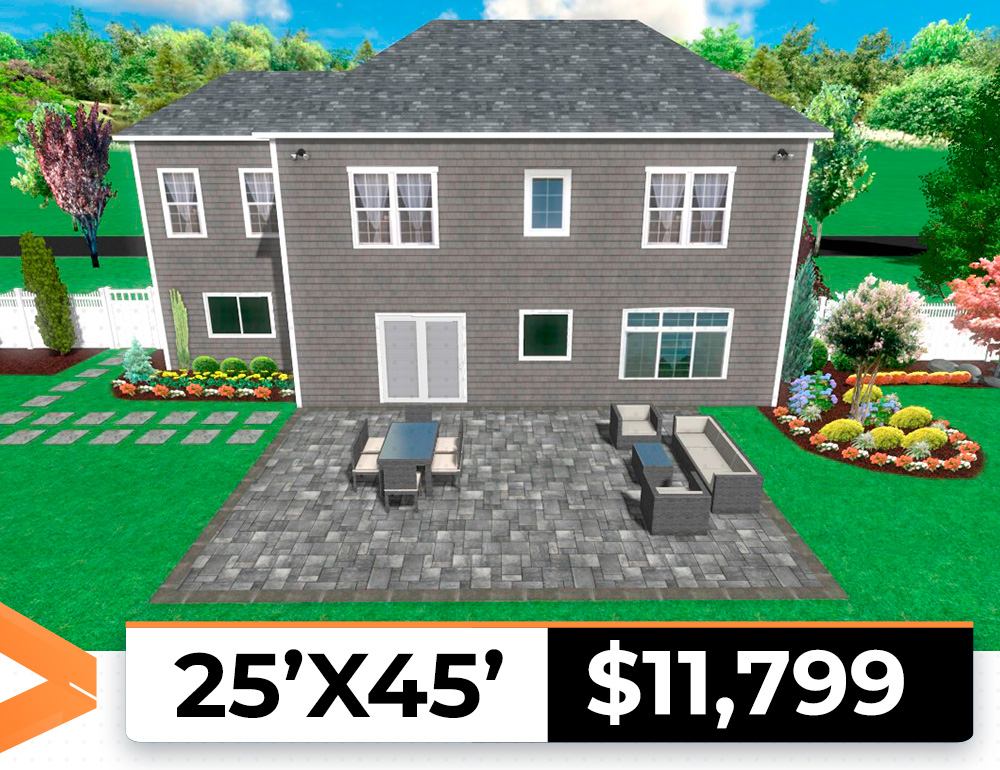
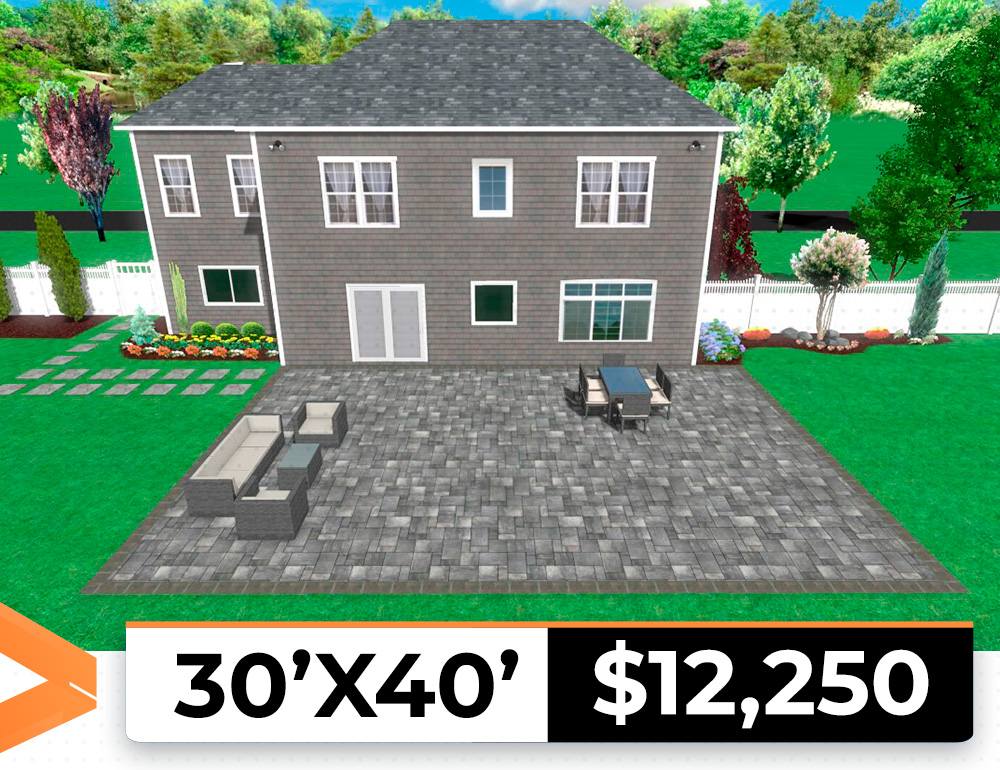
How Much Does a Paver Patio Cost?
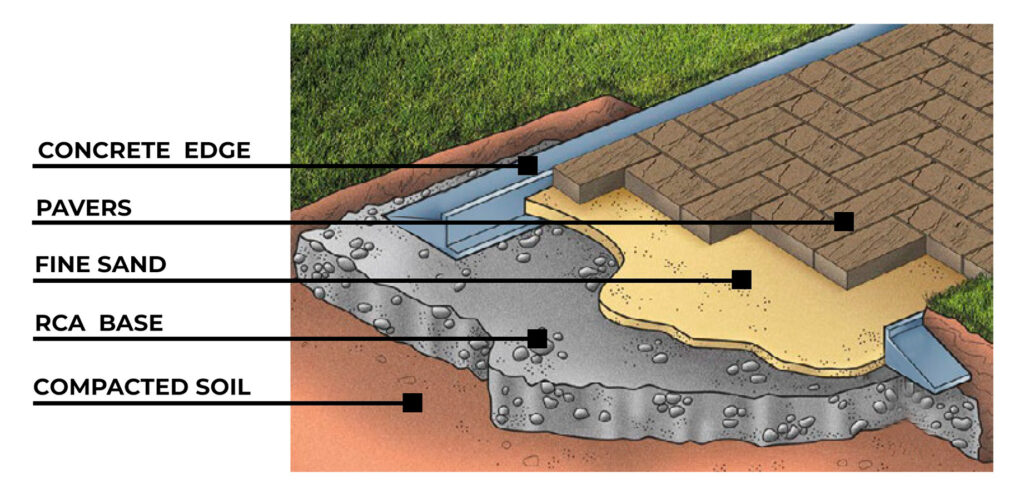
What’s Under Our Patios?
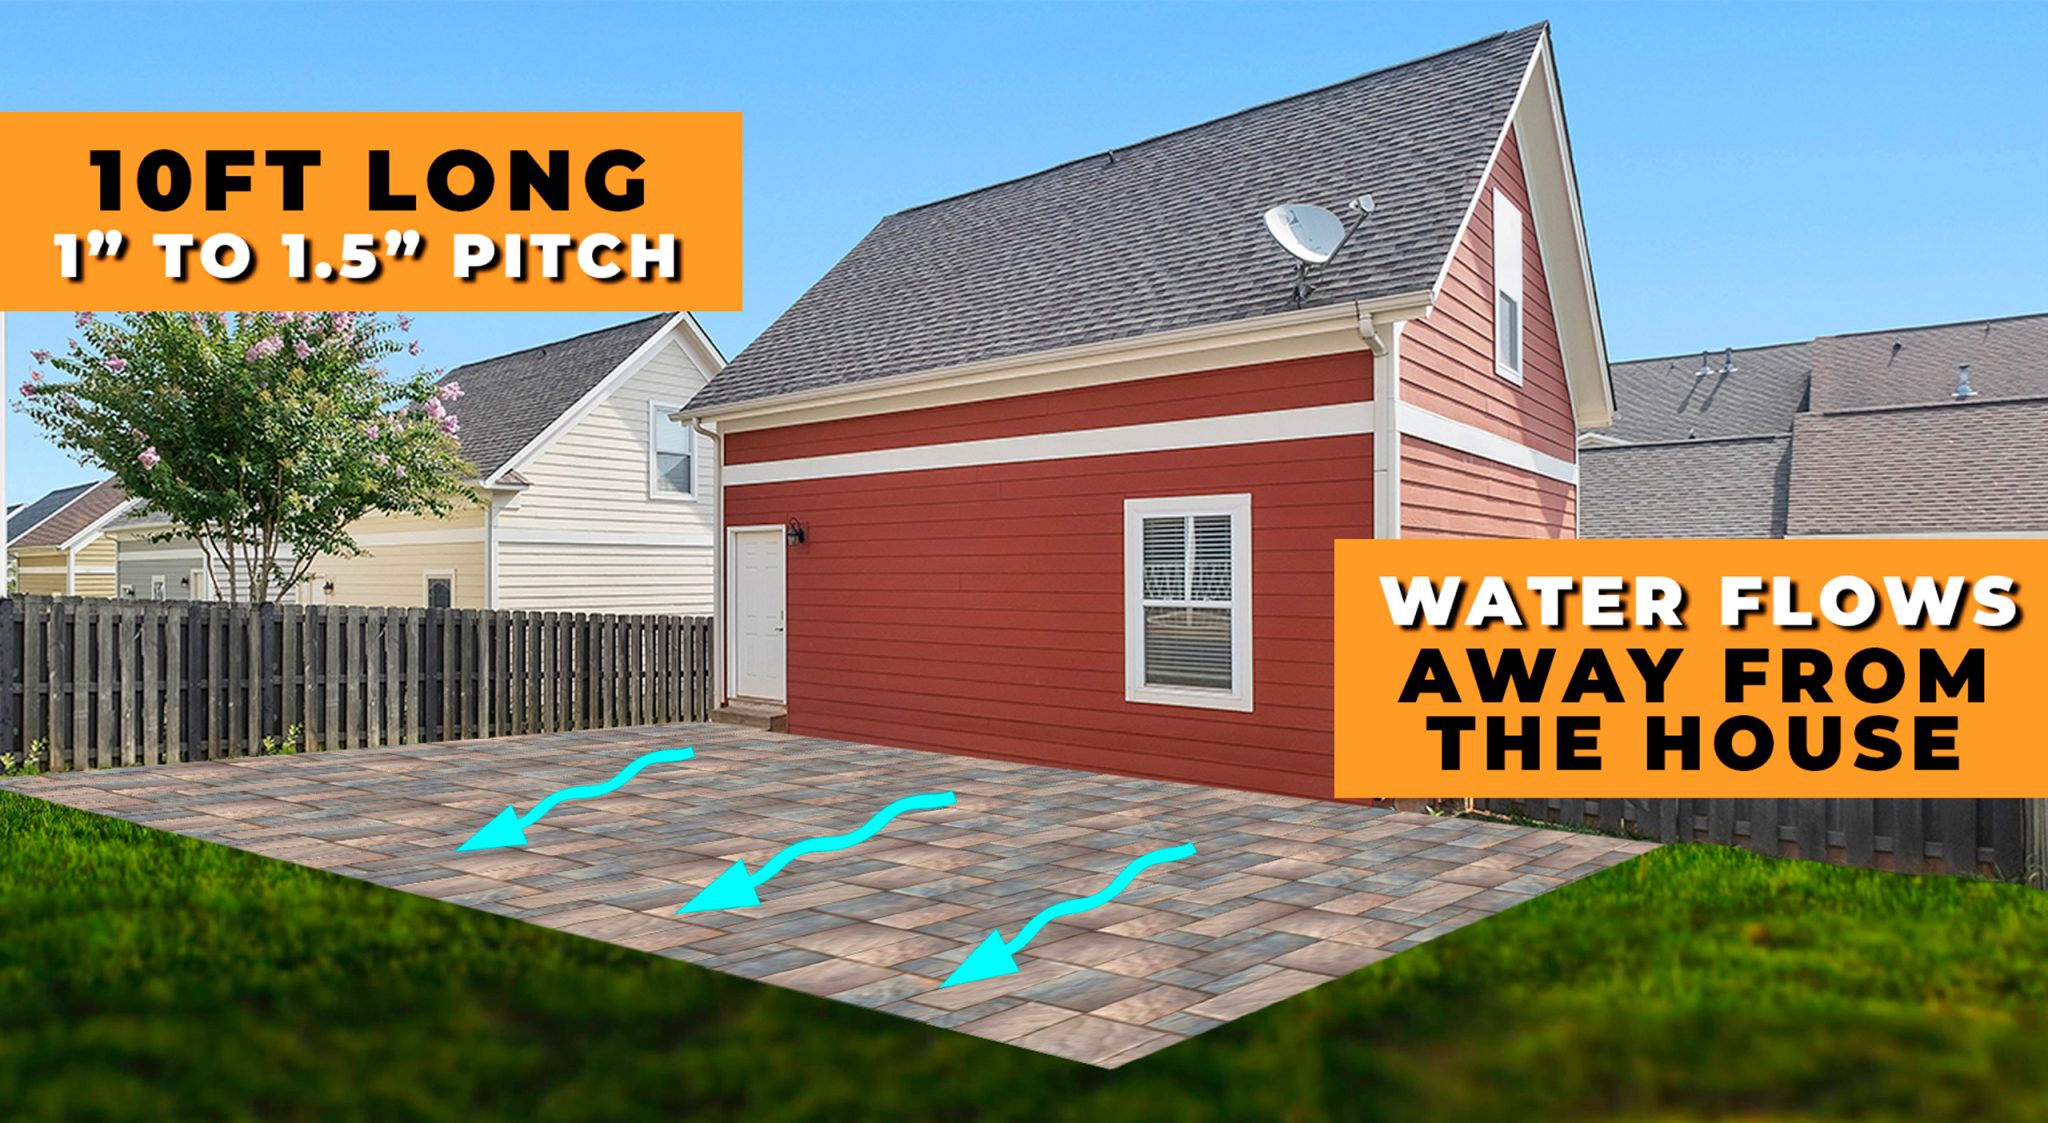
Setting Heights Based off the Grade of Your Property
Excavation, Removal of Soil or Debris in the Area of Your New Paver Project
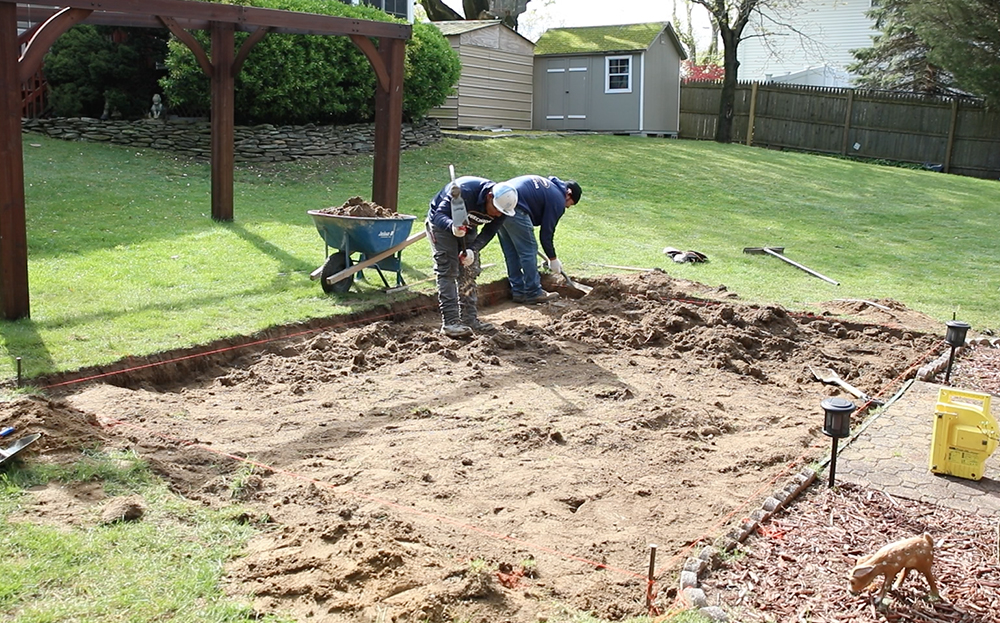
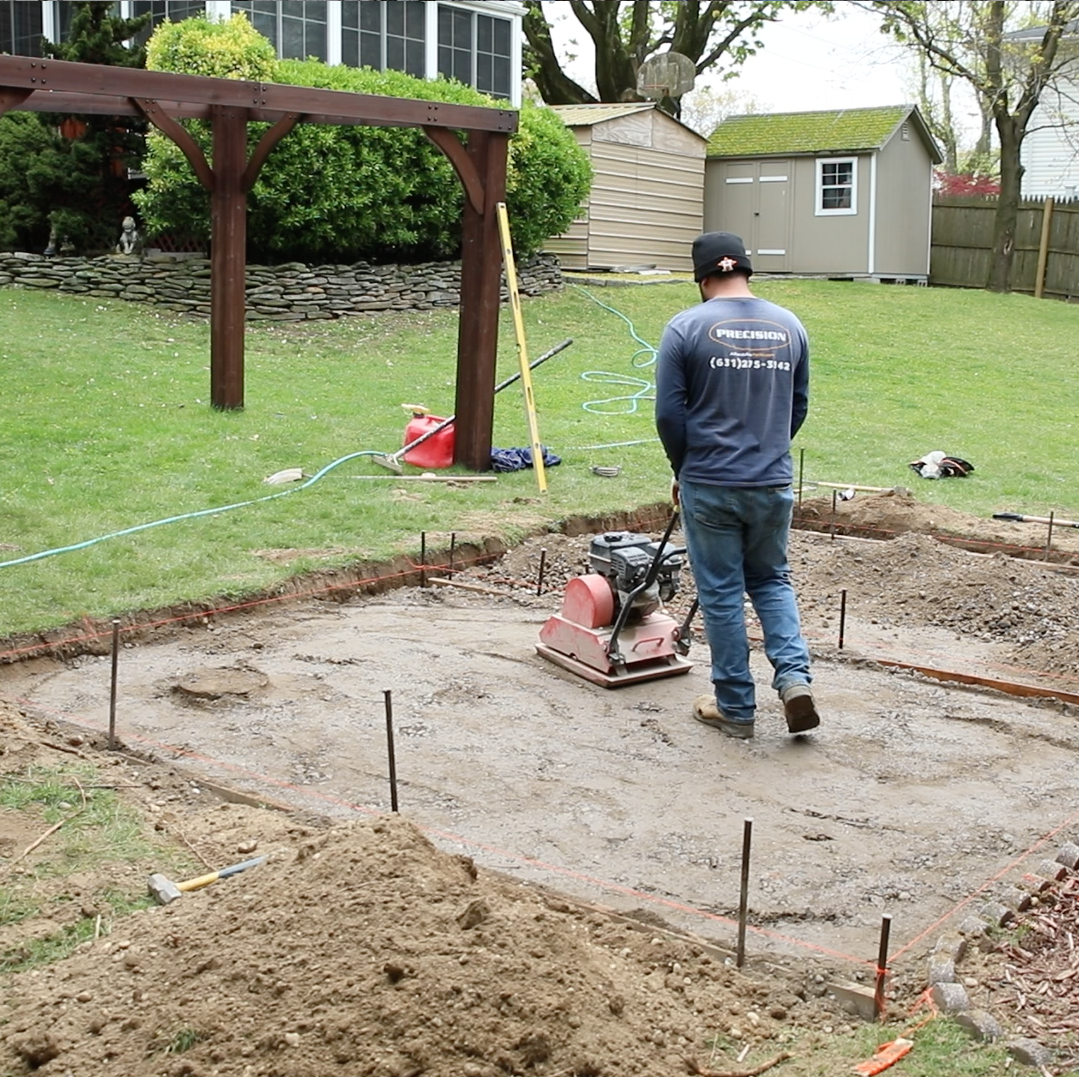
Now that the heights are set the crew can start to excavate. From the height of our stringline we dig down 5-7 inches. All the soil we excavate will be carted away. With that complete and all the soil removed, the crew will check one last time to confirm their heights and then start compacting the ground. This will help prevent settling.
Setting Up Forms & Installing Subbase
Setting Up to Install Pavers
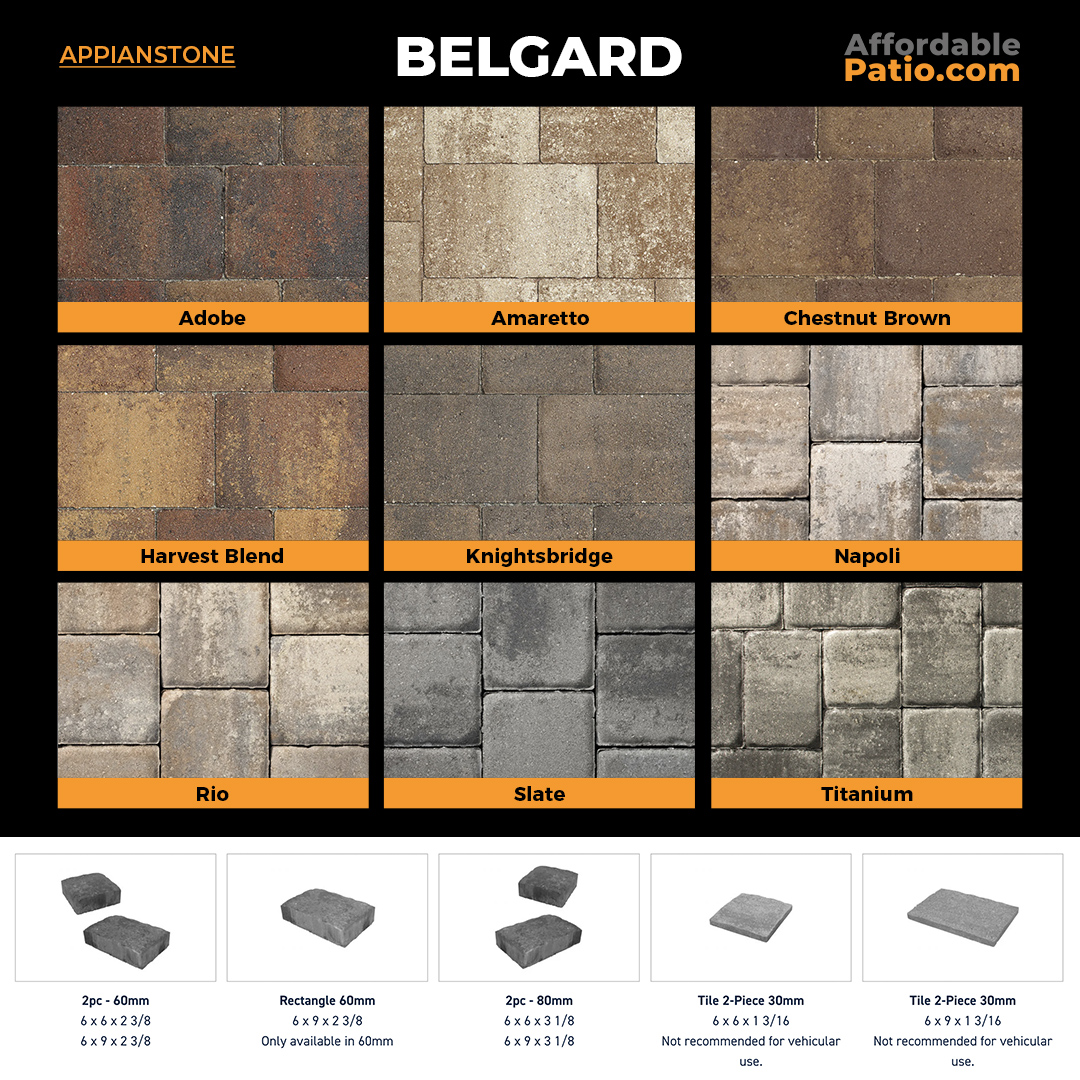
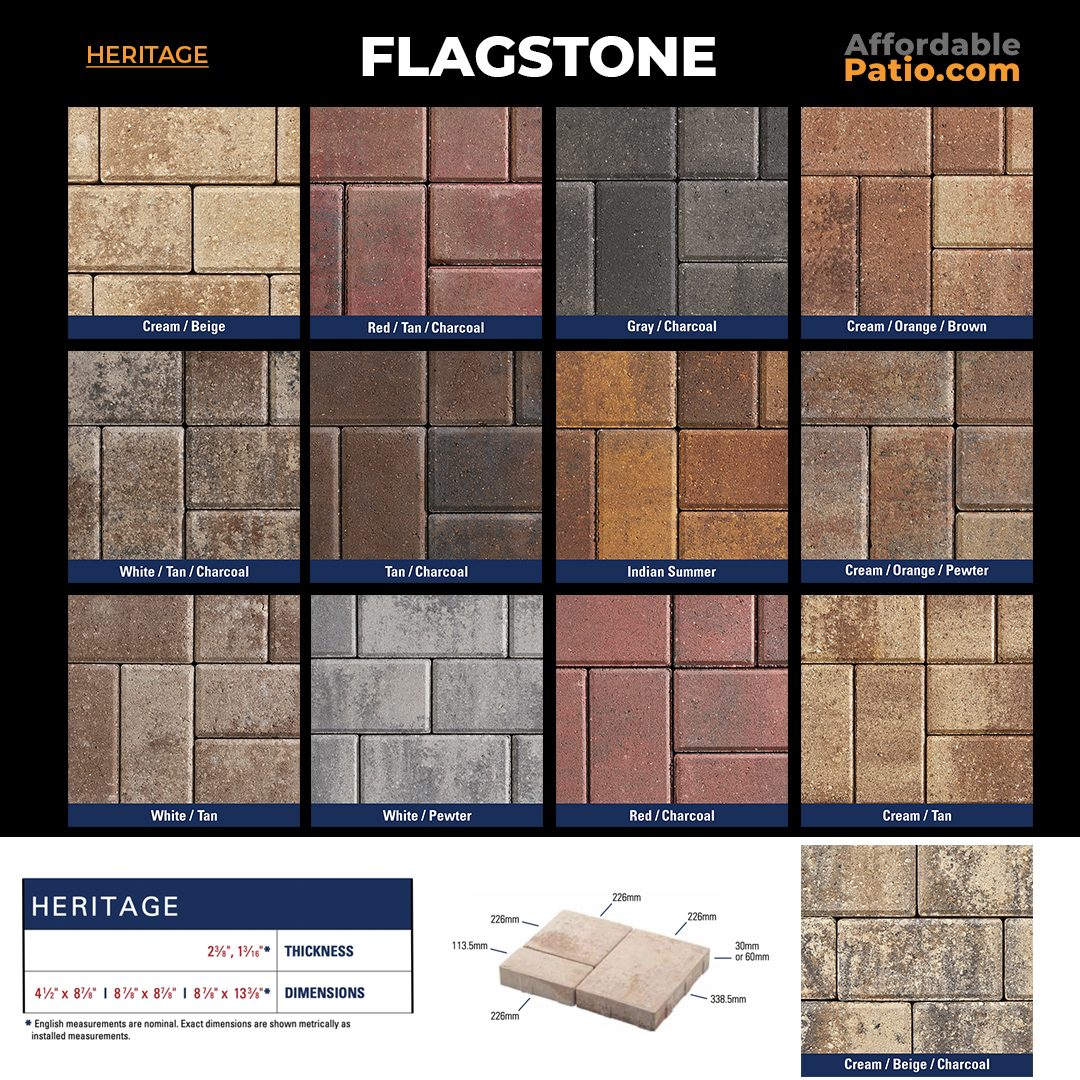
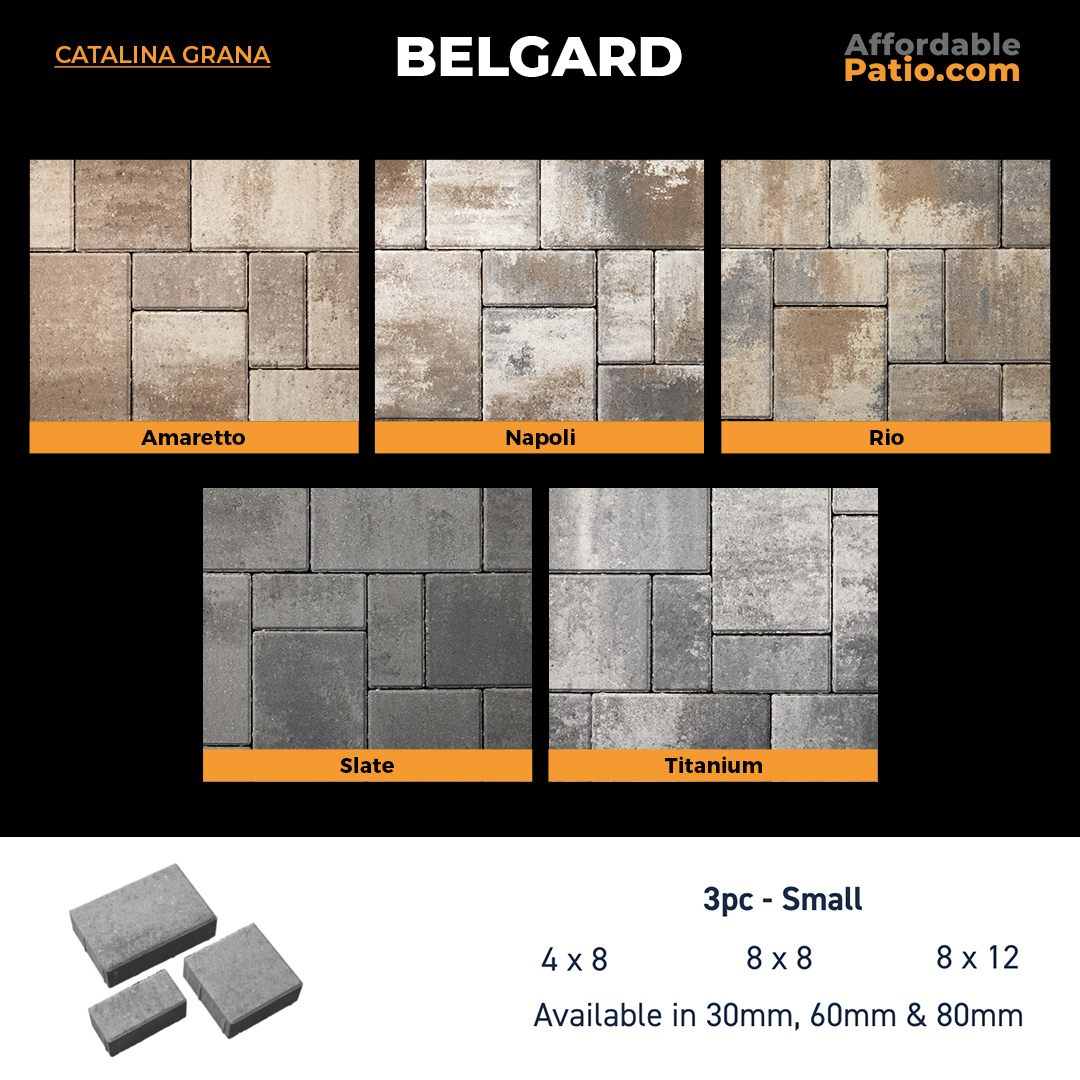
Pavers Included
Borders
Single
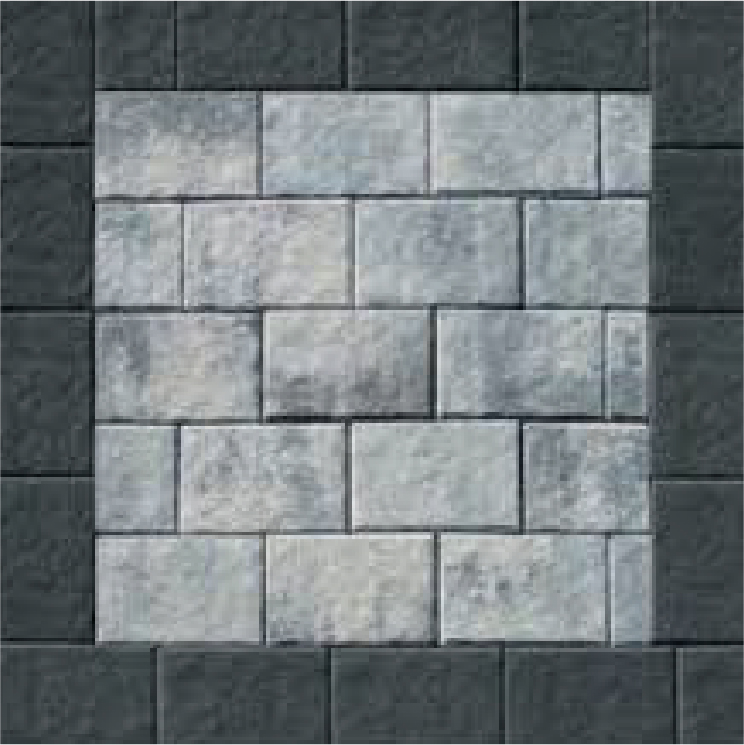
Matching
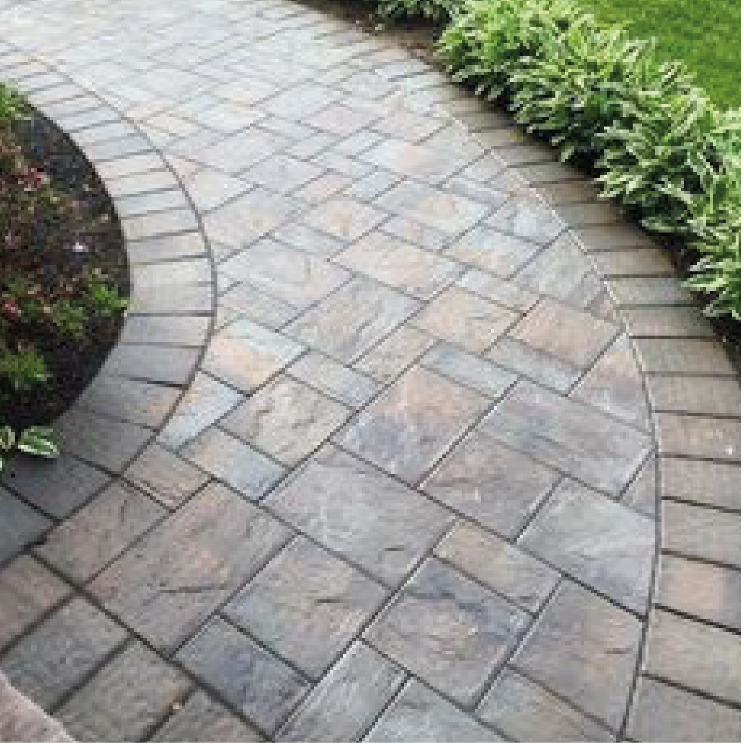
Double

Final Stages to Paver Construction
What we do next is add a concrete edge to the perimeter of the patio that is exposed. This concrete edge is a restraint and keeps the pavers from shifting out of place. The concrete is set about 1 inch below the top of the paver and then gets covered by topsoil.

Paver Sealants
You may say to yourself that you love the way the colors look when the patio is wet. There are sealers that can leave the pavers with that look.
Sealing your pavers will also seal the sand that is in between the joints, preventing it from coming out of the joints.
What Our Clients Say
Posted onTrustindex verifies that the original source of the review is Google. We hired Afforable Patio to install a new paver patio in our backyard in Hillsborough, and we couldn't be happier with the results! The crew was professional, courteous, and very efficient. They finished the job ahead of schedule and kept the worksite clean throughout the entire process. The quality of the workmanship is outstanding, and our new patio looks amazing! We highly recommend Afforable Patio to anyone looking for a reliable and skilled paver installer.Posted onTrustindex verifies that the original source of the review is Google. This patio installer company is fantastic! They made getting my new patio a breeze. From start to finish, they kept me in the loop and were always upfront about everything. Plus, their prices are super reasonable, making it easy on my budget. I couldn't be happier with the results! If you're looking for an affordable patio, these guys are the ones to call.Posted onTrustindex verifies that the original source of the review is Google. Phenomenal experience - highly recommend Steve and Affordable patio! They made my experience a very satisfied one. From the get go, response and communication has been top notch. Their quote was competitive still while working through us on a design that best suited what we're looking for with materials we were able to hand pick from the show room at SCP. As contractors and specialty companies go - Affordable patio exceeds. I was very impressed by their crew lead by Eric who was very receptive and helpful. They always wanted to deliver a good product - and it shows. Our patio was a two day job, materials were placed on the street not blocking or affect neighbors, not on the grass and the base material on a tarp for easy clean up. They went so far as to blow and hose down our driveway and the street, which impressed me as well as fix any affected grass. Steve and his crew really knows the business and how to deliver the right finished product - we've already received numerous compliments within 24 hours of completion as well as folks asking for affordable patios information. Highly recommend. Our patios beautifulPosted onTrustindex verifies that the original source of the review is Google. I’m so happy with my new townhome patio. It was a day job for Affordable Patio and they did an amazing job. Very pleasant to work with, reliable, quality everything and they didn’t leave as much as a speck of traces that they were there. Beautiful job! Wish I had done it sooner. Very affordable too!Posted onTrustindex verifies that the original source of the review is Google. Very professional , quick,fast , clean and great quality of work. Most of all affordable like they advertised. I would personally recommend to many...Posted onTrustindex verifies that the original source of the review is Google. My wife and I just used AffordablePatio. We love our new flagstone paver patio. Great jobPosted onTrustindex verifies that the original source of the review is Google. Just got out patio installed the entire team was amazing. Kristina, Steve and Alex were awesome to work with. 10/10 recommend!Posted onTrustindex verifies that the original source of the review is Google. They turned my dreams into a reality ! A wonderful job done. Professional & affordable! A place where I can now host family and friends .Posted onTrustindex verifies that the original source of the review is Google. The team at Affordable Patio makes the process of your renovations or new additions an easy and enjoyable experience! The communication is great and they really care about making the experience outstanding. I will continue to go to them for outstanding work at prices that are very reasonable. If you are looking for a crew to make your dreams and visions come to life, go with them. You will be happy you did!

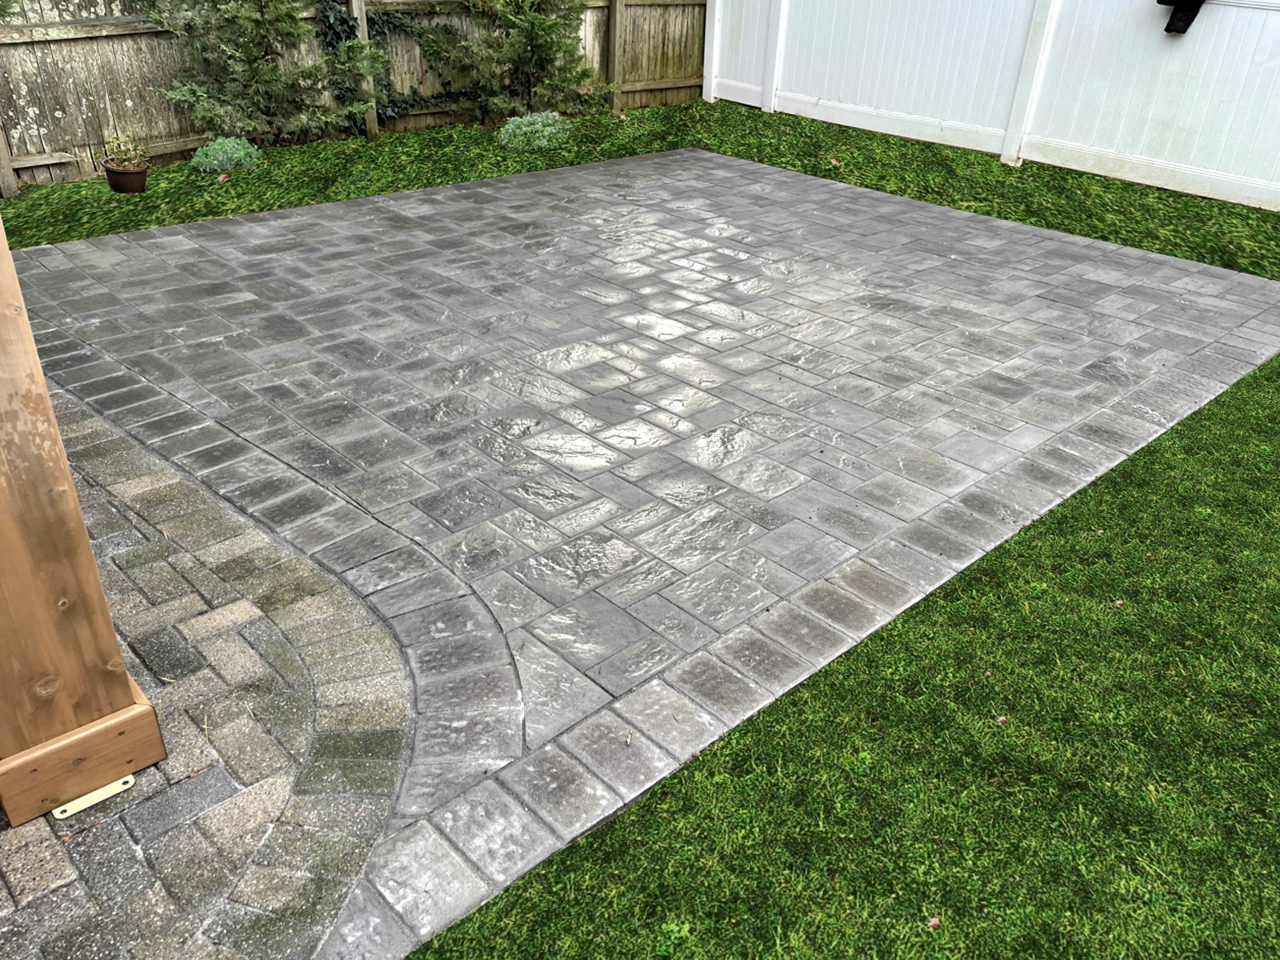
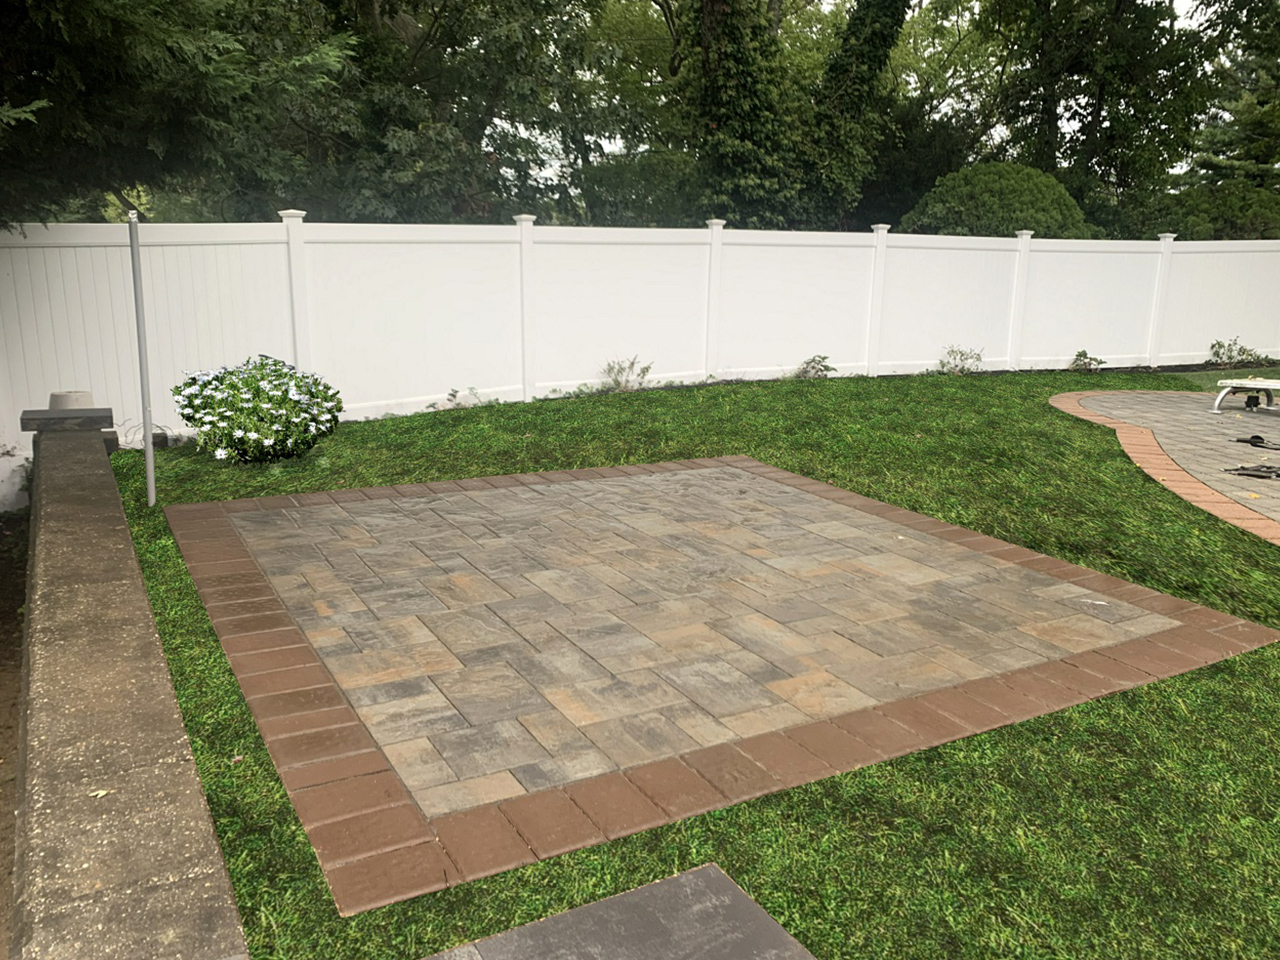
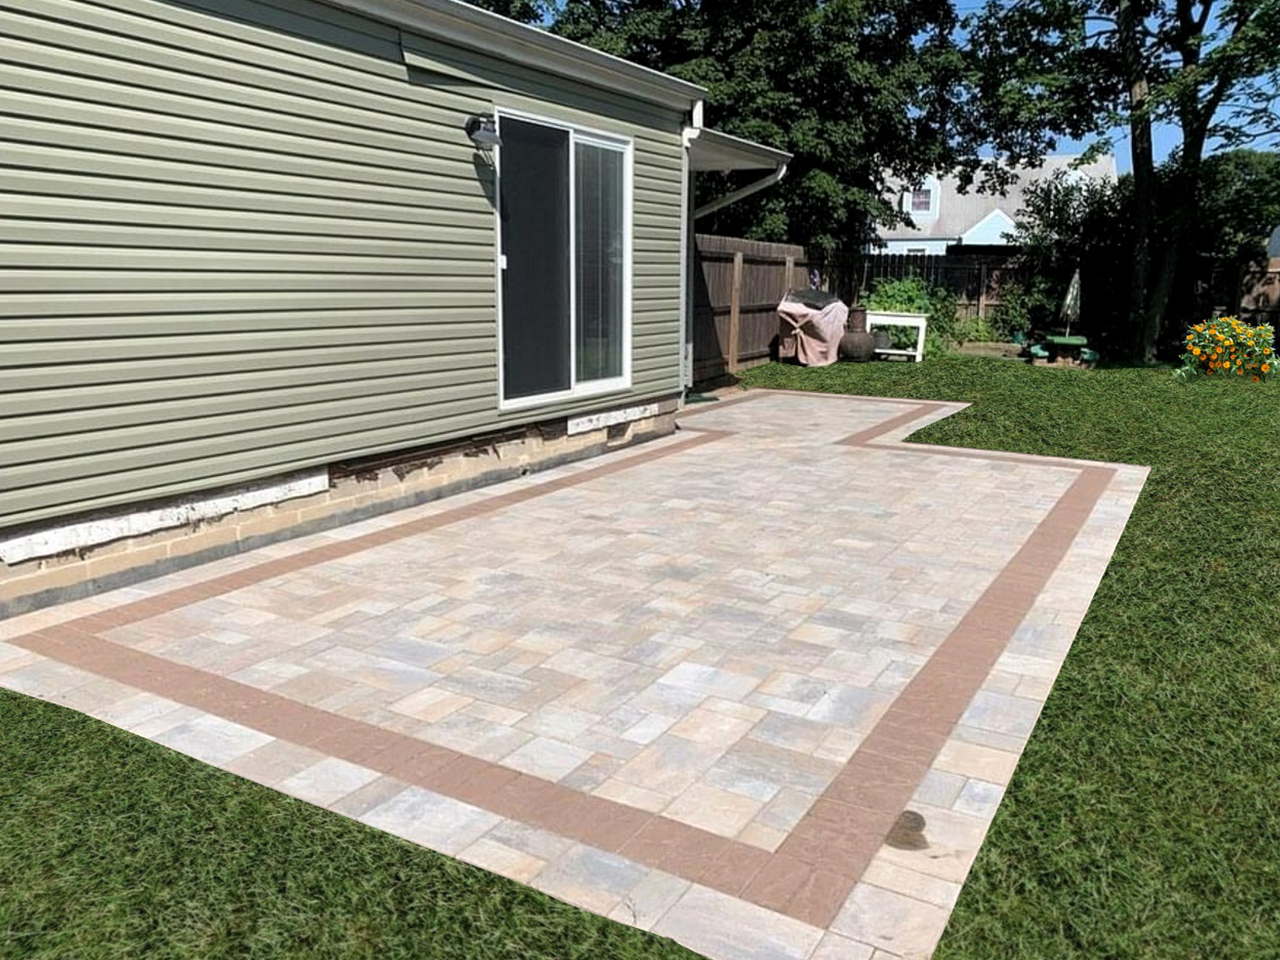
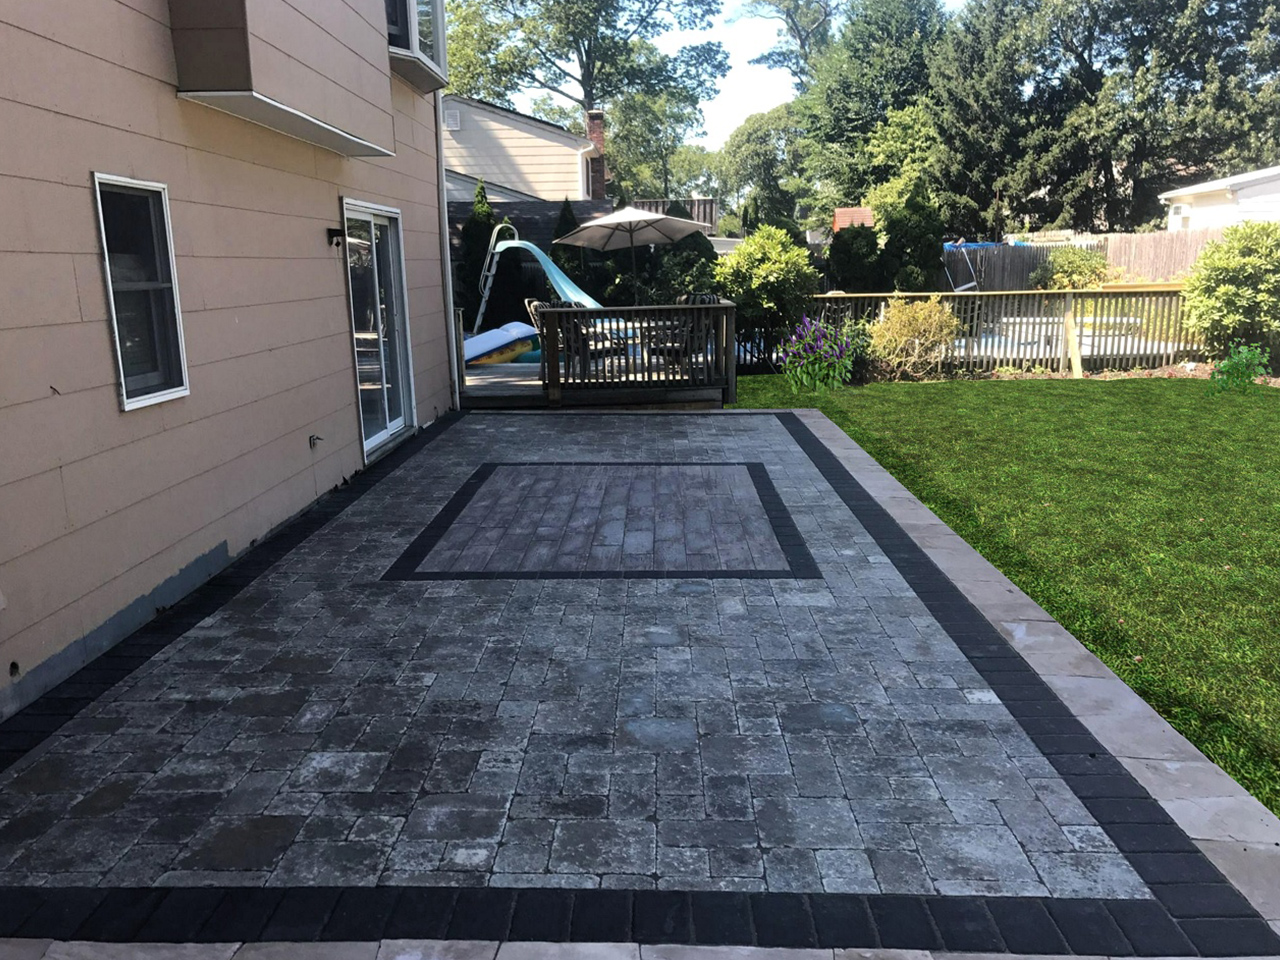
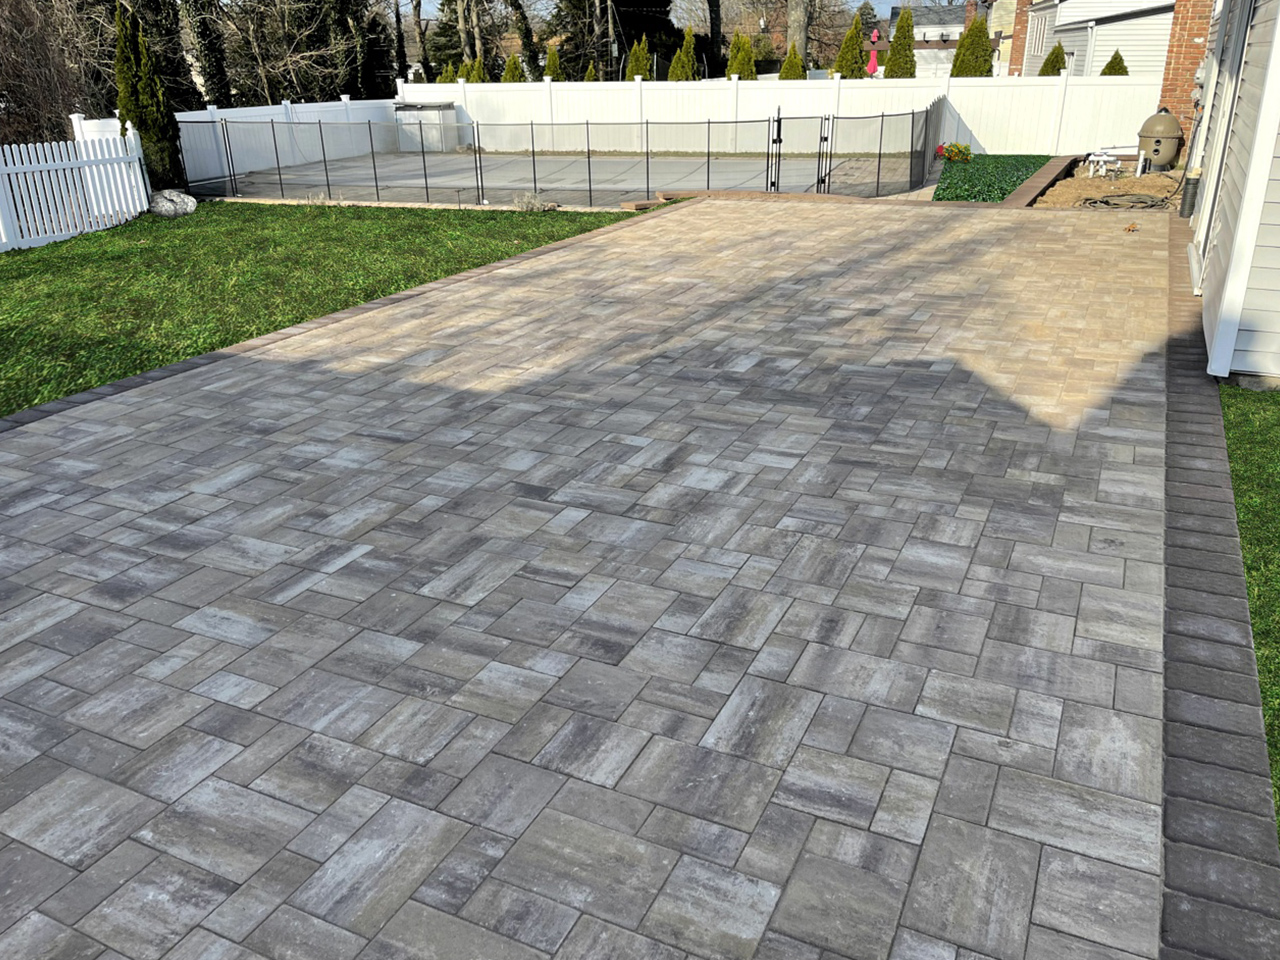
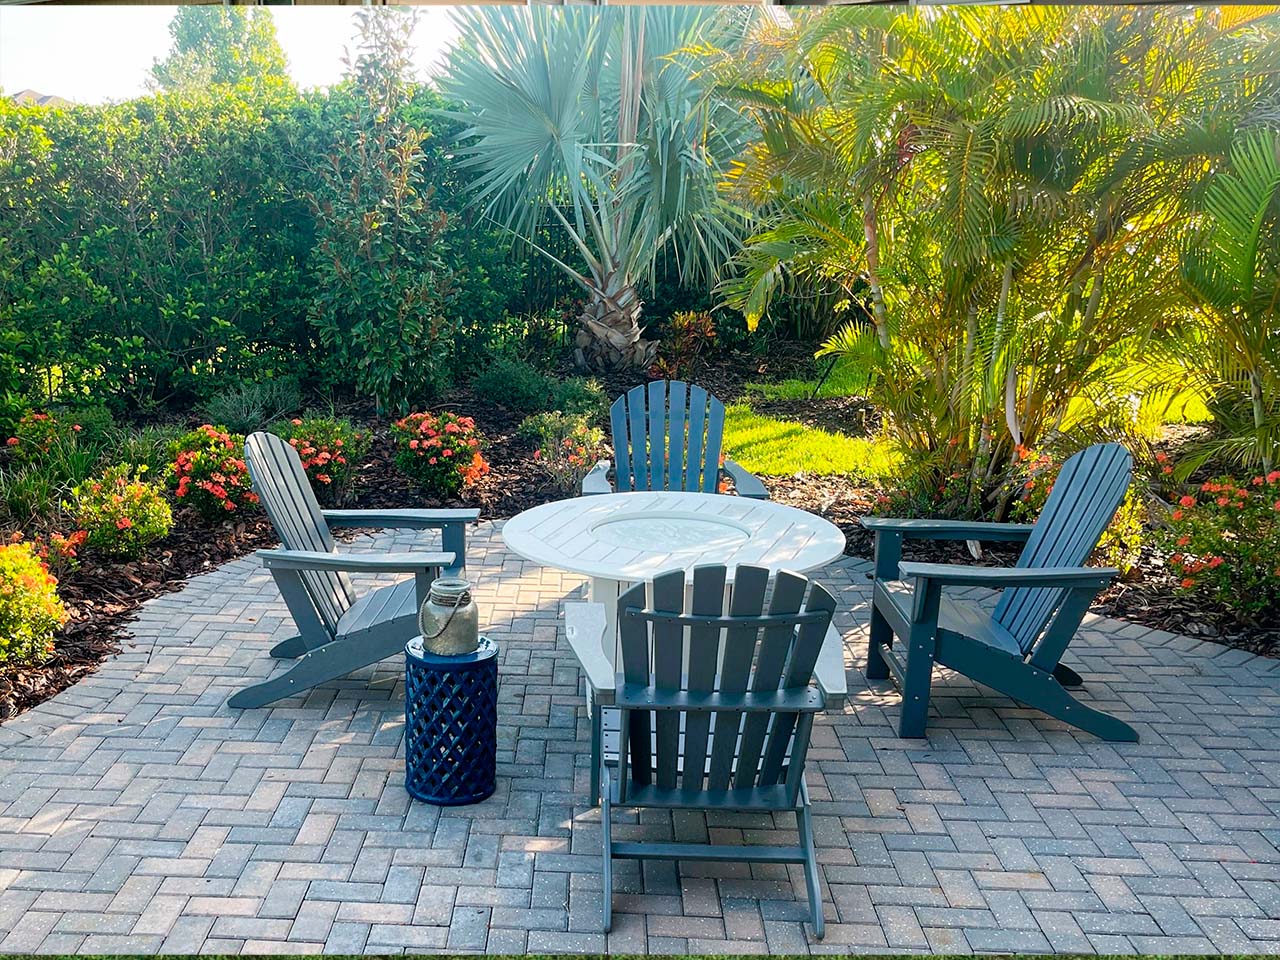
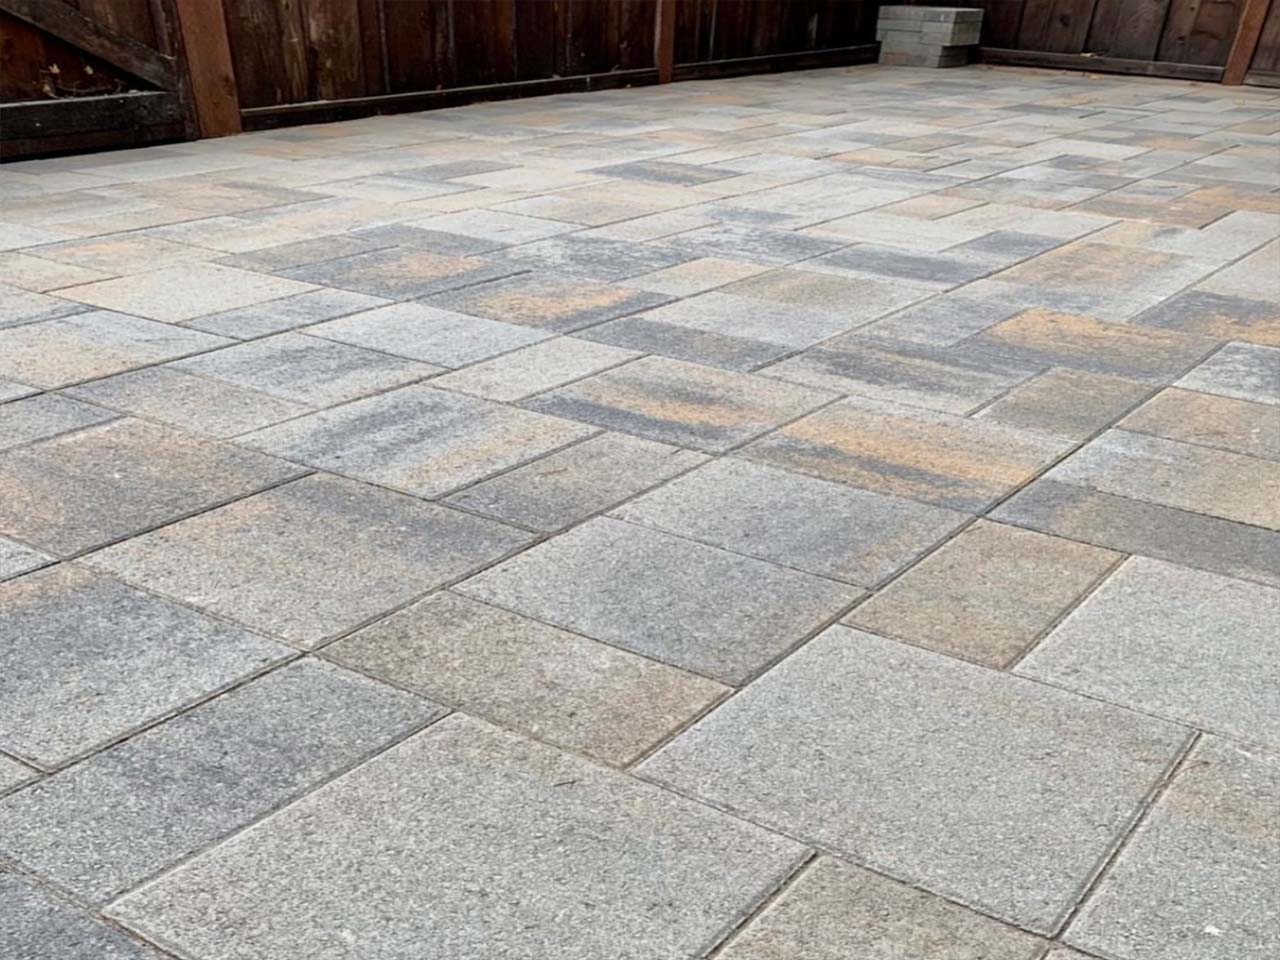
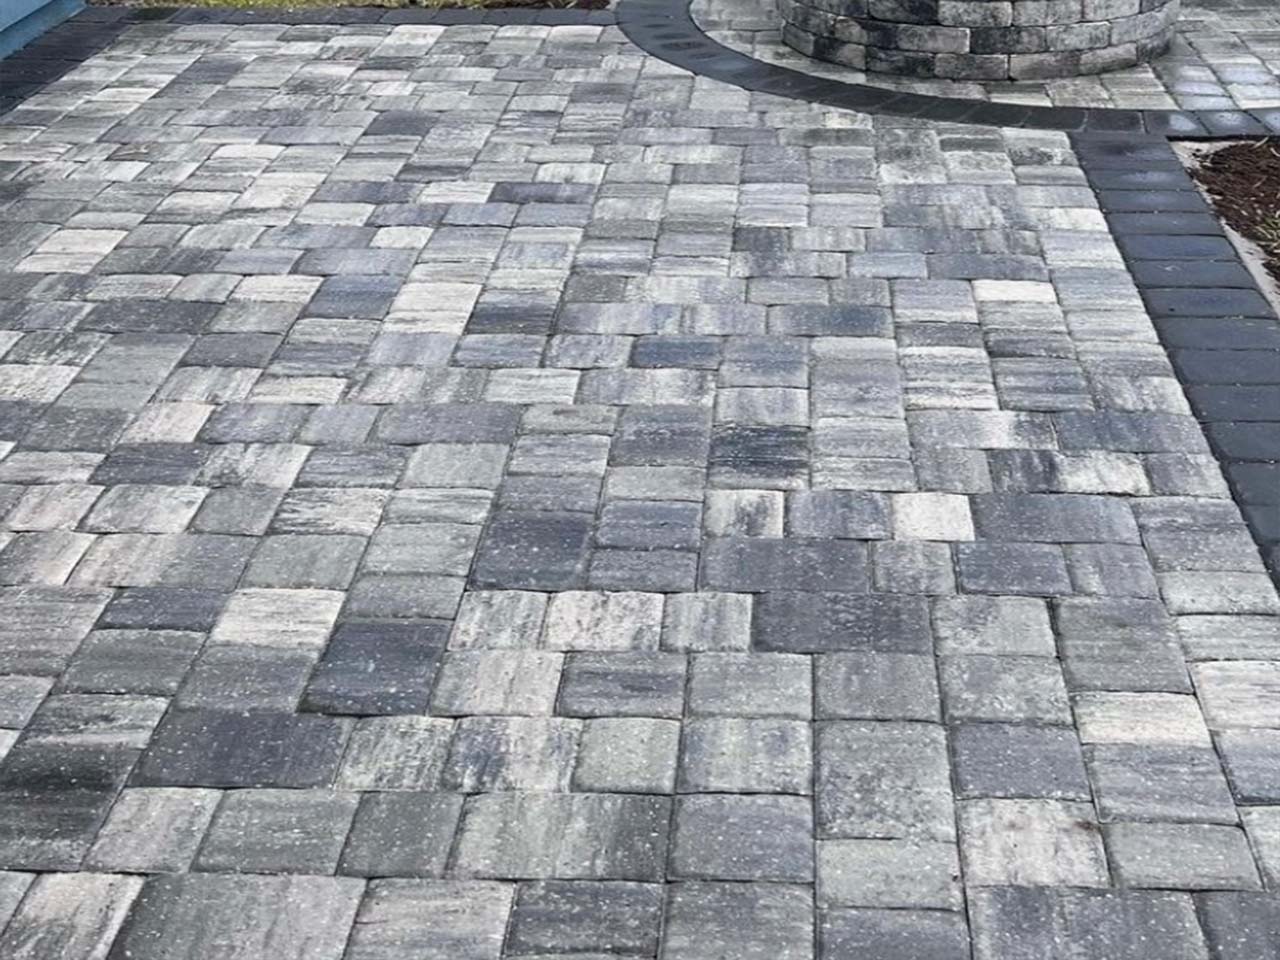
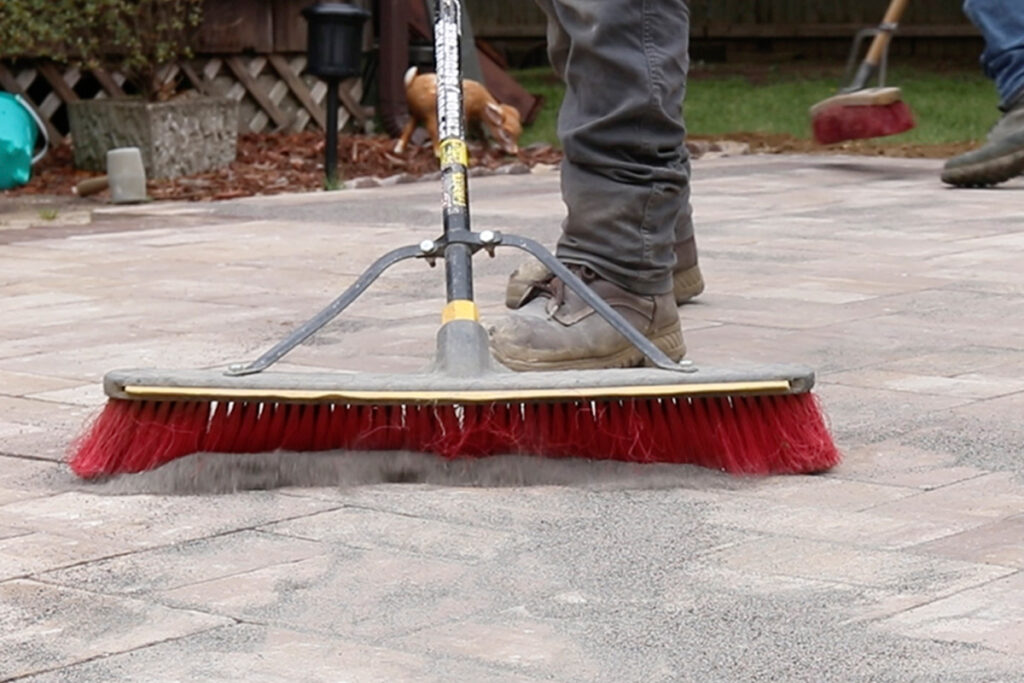
To fill in all the joints between the pavers we use sand. This process is where we sweep the sand into the joints and after proper installation and adding water the sand will set to a hard finish. Ultimately locking out weeds and helping keep the pavers together.