
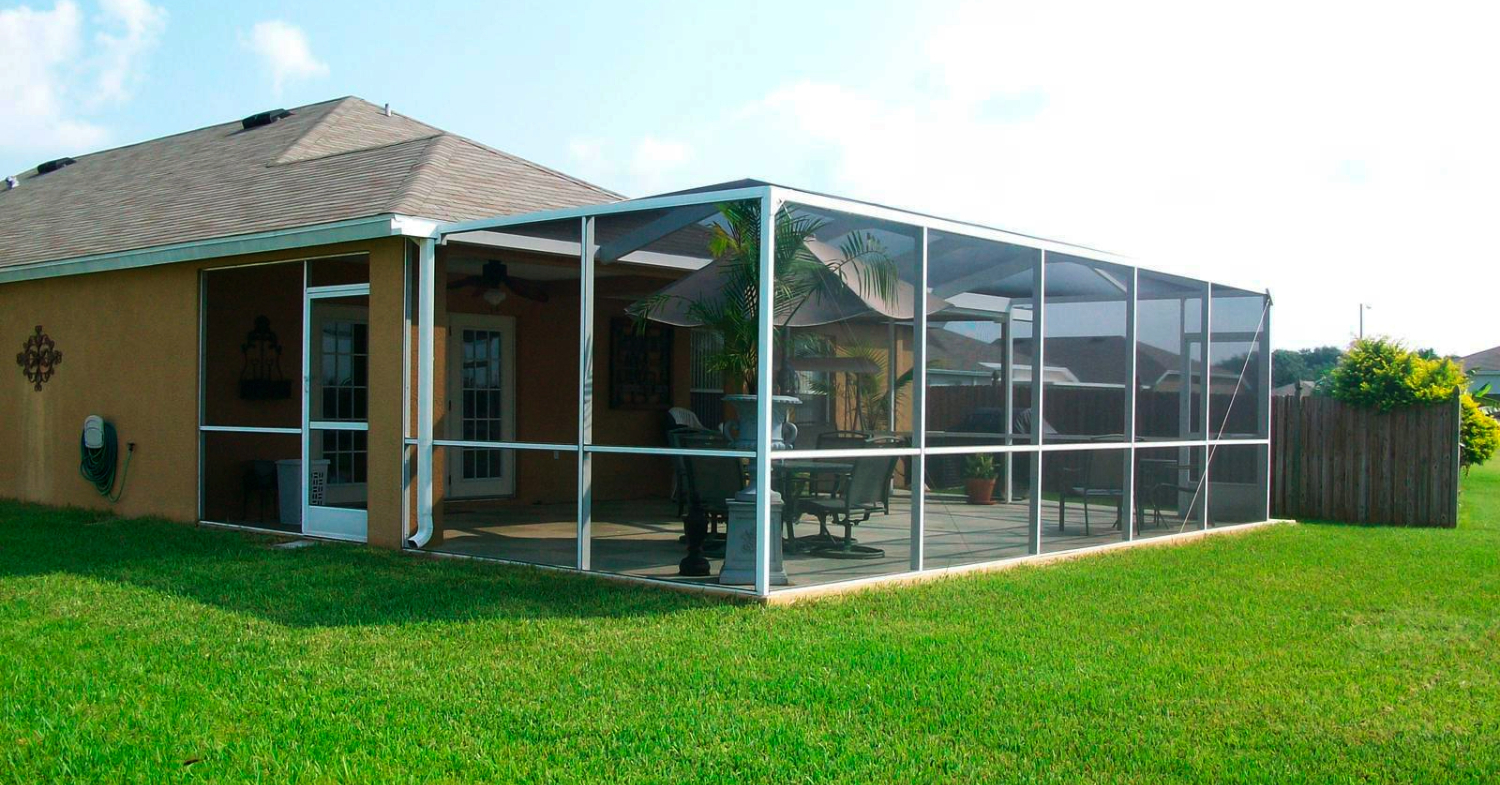
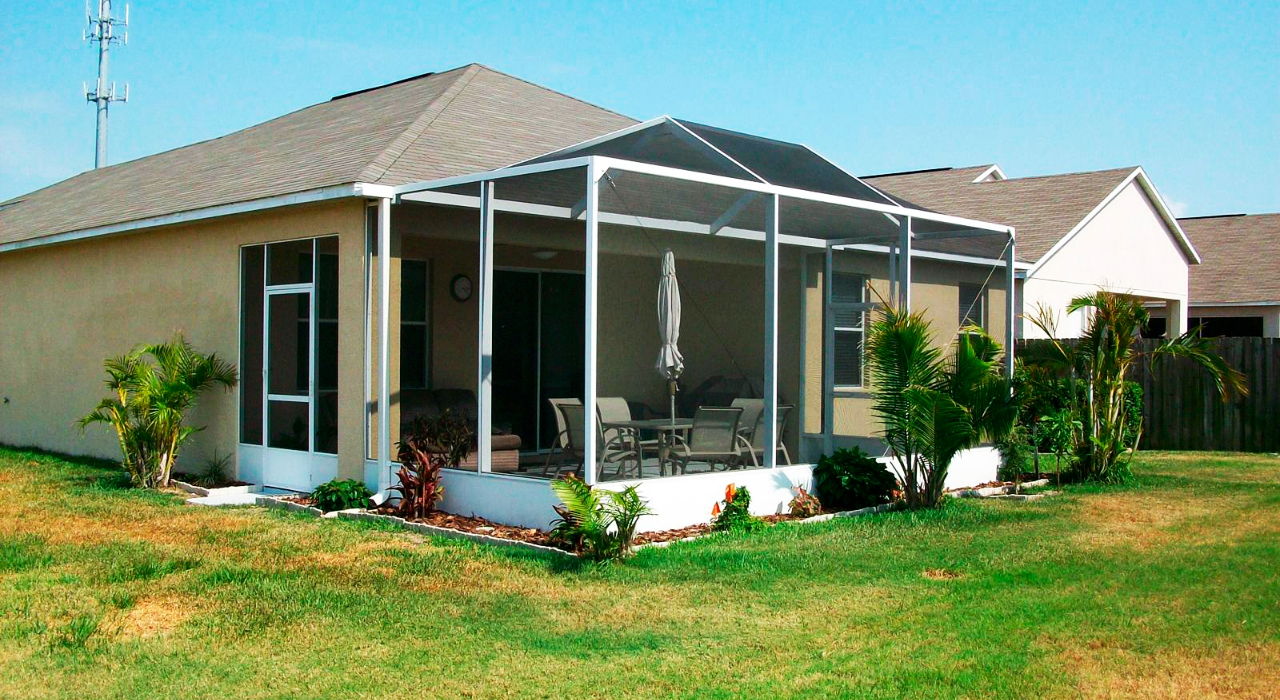
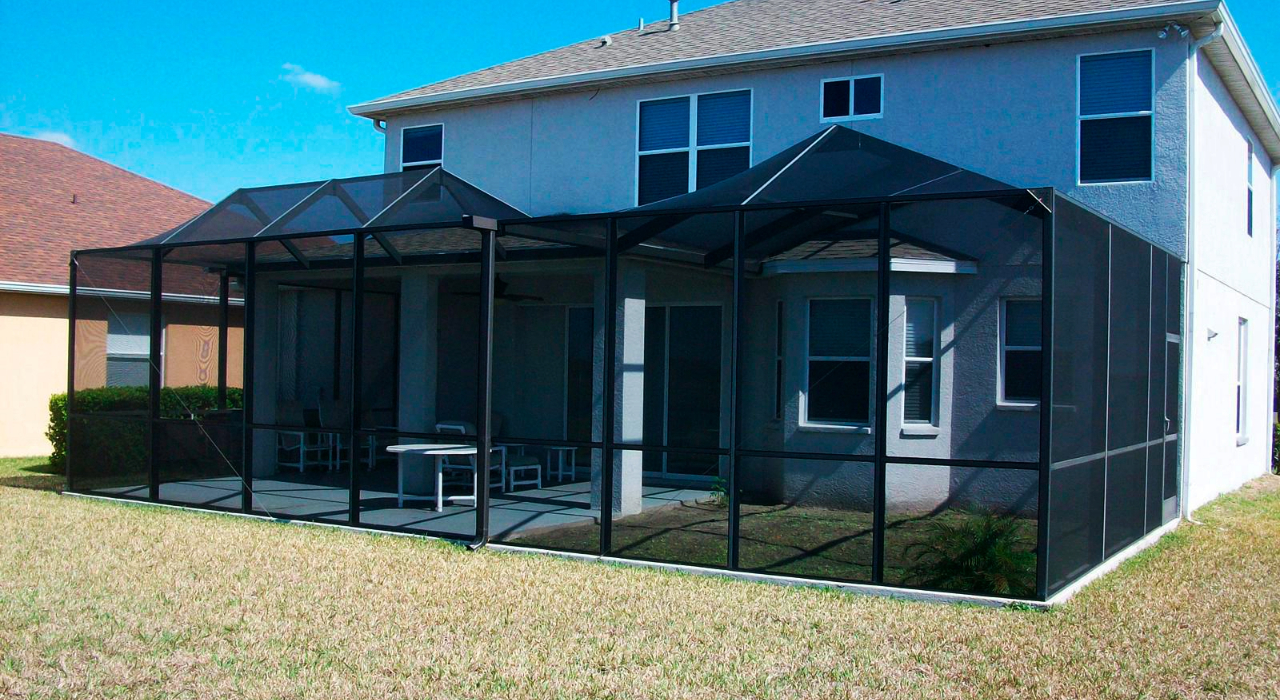
A lanai screen enclosure gives your Florida home one of its most functional and enjoyable features, a bug-free outdoor living space that works year-round. But Florida’s climate is generous not just with sunshine and warm evenings. It also delivers pollen by the pound every spring, biological growth on any surface that stays moist for more than a few days, and a steady accumulation of dust and organic debris that settles into screen mesh over every season. Knowing how to clean lanai screens correctly is what keeps that outdoor space looking sharp and functioning the way it should.
The challenge most homeowners run into is that lanai screen mesh looks tougher than it is. It handles Florida weather year after year without complaint, but it does not handle aggressive cleaning methods well. Pressure washing, stiff brushes, and harsh chemical cleaners all create damage that is difficult to reverse without full panel replacement. At Affordable Lanai, we have installed more than 2,000 lanai screen enclosures across Hillsborough County and we have seen the difference between well-maintained screens that last 15 years and neglected or improperly cleaned ones that need re-screening in five. This guide covers the right way to clean your lanai screens so they stay streak-free, undamaged, and looking great.
Why Lanai Screens Get Dirty So Fast in Florida
Understanding what you are dealing with makes the cleaning process more effective. Lanai screens in Hillsborough County collect several distinct types of buildup, each with its own removal approach.
Pollen is the most visually dramatic. During Florida’s spring pollen season, a fine yellow-green coating can appear on screen mesh almost overnight. It is loosely deposited and relatively easy to remove when fresh, but it bonds to screen fiber as it ages and mixes with moisture and humidity.
Algae and mildew establish readily on screen mesh in Florida’s warm, moist conditions. They appear as green, gray, or black staining and are particularly common on lower screen panels, shaded areas, and sections near irrigation spray. Once established, biological growth is harder to remove than pollen and requires a slightly different approach.
Dust and general grime accumulate gradually and are most visible on screen panels facing the prevailing wind direction. This type of buildup responds well to any gentle cleaning approach.
What You Need Before You Start
- Garden hose with a spray nozzle set to a wide fan pattern
- Soft-bristle brush with a long handle
- Mild dish soap mixed in a bucket of warm water
- White vinegar for mildew or algae treatment
- Microfiber cloths or a soft sponge for the aluminum frame
- A step stool or extension handle if needed for upper panels
What to leave in the garage: pressure washers, metal scrub pads, stiff nylon brushes, bleach spray, and any commercial cleaners that contain solvents or abrasives. These are the tools that turn a cleaning session into a repair bill.
A high-quality outdoor addition is a top selling point; explore our custom lanai services to boost your property value.
How to Clean Lanai Screens: The Step-by-Step Process
Step 1: Dry Brush Loose Debris First
Before applying any water or cleaning solution, use a dry soft-bristle brush to knock loose any dry debris, cobwebs, or clumped pollen from the screen panels. Working from top to bottom, brush lightly across the screen surface. This step is particularly worth doing in spring when pollen accumulation is heaviest. Removing loose material while it is dry prevents it from becoming muddy and embedding further into the mesh when water is applied.
Step 2: Rinse the Entire Enclosure From Top to Bottom
With the nozzle set to a wide fan spray, rinse all screen panels and the aluminum frame from the top of the enclosure downward. The goal here is to wet all surfaces and begin flushing loose material before the cleaning solution goes on. Pay particular attention to corners, the lower panels near the foundation, and the inside surface of the screen if you have access from within the enclosure.
Step 3: Apply Soap Solution and Scrub Gently
Mix a mild dish soap solution in your bucket, about one tablespoon of soap per gallon of warm water. Dip your soft-bristle brush into the solution and apply it to the screen panels in sections, working from top to bottom with gentle circular scrubbing motions. The pressure should be comparable to washing a car. For upper panels that are difficult to reach, use an extension handle. Avoid climbing on the aluminum frame members and never lean your full weight against screen panels.
Step 4: Treat Mildew and Algae Stains With Vinegar Solution
For green or black biological staining that does not come off with the soap scrub, apply a solution of one part white vinegar to three parts water directly to the affected panels. Allow it to sit for three to five minutes before scrubbing gently. The acetic acid in vinegar breaks down algae and mildew cell structure effectively without damaging screen fibers or aluminum finishes. For stubborn staining established for multiple seasons, a second vinegar application after the first rinse may be needed.
Step 5: Clean the Aluminum Frame
While the soap solution is still on the screen panels, use a soft cloth or sponge to wipe down all accessible aluminum frame members with the same soap solution. Horizontal members where water sits tend to accumulate mildew streaking most prominently and benefit from extra attention. For white frames with significant mildew staining, a mildew-specific outdoor cleaner safe for aluminum can be more effective than dish soap alone.
Step 6: Rinse Completely Until Water Runs Clear
This step determines whether the cleaning session leaves your screens looking clean or streaky. Rinse each section until the water draining off it is completely clear and free of any suds. Make a second pass from the top of the enclosure down to ensure nothing has been missed. On sunny Florida afternoons, the rinsing phase needs to move quickly to prevent soap from drying on the screen in direct sun. If cleaning on a hot afternoon, work in smaller sections and rinse each one before moving to the next.
Step 7: Inspect After Cleaning
Once the enclosure is clean and rinsed, walk the perimeter and inspect each panel for tears, holes, or areas where the screen has pulled away from the spline channel. These are visible much more clearly on a clean screen than on a dirty one. Identifying them now allows you to schedule repairs before they become larger issues.
Adding value doesn’t have to be a guessing game, check our pricing tool to find an option that fits your budget.
How Often Should You Clean Lanai Screens?
In Florida’s climate, a full cleaning of lanai screens is beneficial two to three times per year. The highest-priority cleaning window is after spring pollen season, typically in late April or May. A second cleaning in fall, after the rainy season has ended, removes the algae and mildew that Florida’s summer humidity promotes.
Between full cleaning sessions, a light rinse with the garden hose every few weeks, particularly during pollen season, prevents buildup from bonding to the screen fiber and dramatically reduces the effort required at each full cleaning.
Streak Prevention: The Details That Matter
Streaks on lanai screens after cleaning are almost always caused by one of three things: insufficient rinsing that leaves soap residue, cleaning in direct hot sunlight that causes soap to dry faster than it can be rinsed, or using a cleaning solution that is too concentrated. Cleaning on a cloudy day or during cooler morning hours gives you more working time before solutions dry on the screen surface. A dilute soap solution that creates just enough suds to work effectively rinses more completely than a heavy concentration. Prioritizing thorough rinsing, even when it feels repetitive, is what produces a streak-free result every time.
See the professional results that potential buyers love by following our jobs in progress.
Frequently Asked Questions
How do I clean the inside of my lanai screens?
Cleaning the inside surfaces of lanai screens follows the same process as the outside, with the advantage that the interior is typically less exposed to pollen and outdoor debris. From inside the enclosure, use the same soft brush and mild soap solution approach, rinse from top to bottom, and ensure you rinse completely to prevent streak residue. The interior surface tends to accumulate dust and pet hair more than biological growth, so a dry brush step before applying water is particularly useful on interior panels.
Can I use Simple Green or similar products on lanai screens?
Simple Green in its diluted form is generally considered safe for use on fiberglass and aluminum screen mesh. Follow the dilution instructions carefully and rinse very thoroughly afterward, as these products tend to leave more residue than mild dish soap if not fully rinsed. Always test any cleaning product on a small, inconspicuous section of screen first. When in doubt, mild dish soap and vinegar handle the vast majority of cleaning situations safely and effectively.
My screens look clean but still feel sticky. What is causing this?
A sticky or tacky feel on screen mesh after cleaning is almost always the result of soap residue that was not fully rinsed away. Go back over the affected panels with a clean water rinse, spending extra time ensuring all surfaces are completely soap-free. In some cases, stickiness on older screens can be caused by the screen fiber material beginning to break down under UV exposure, in which case the panels are approaching end of life and no amount of cleaning will resolve it.
How do I remove bird droppings from lanai screens without damaging them?
Bird droppings are best removed when fresh because they harden significantly as they dry. For fresh droppings, a simple rinse with the garden hose often removes them completely. For dried droppings, soak the affected area with warm water for several minutes to soften the material before attempting removal. Use a soft cloth or sponge with mild soap solution and gentle pressure, working at the edge of the deposit. Avoid hard scraping with any tool, as force required can damage the surrounding screen.
How do I know when lanai screen panels need to be replaced rather than cleaned?
Several conditions indicate that a screen panel has reached the point where cleaning is no longer appropriate. Visible tears or holes compromise the insect barrier function and will worsen over time. Screen mesh that has pulled away from the spline channel cannot be re-secured by cleaning. Mesh that has turned a brownish or yellowed color throughout is showing UV degradation that cannot be reversed. Panels that remain visibly dirty even after a thorough cleaning session may have biological growth embedded too deeply for cleaning to reach. Any of these conditions indicate that re-screening is the right next step, which Affordable Lanai handles across all enclosure types in Hillsborough County.
Clean Screens, Comfortable Living
Understanding how to clean lanai screens the right way is one of the most practical things a Florida homeowner can do to protect their outdoor living investment. Clean screens let in more light, allow better airflow, maintain their insect barrier performance, and make the enclosed space genuinely more pleasant to be in. With the right tools and a consistent cleaning schedule, keeping your lanai screens in excellent condition is a manageable task that pays back in years of extended screen life.
Affordable Lanai has been Hillsborough County’s trusted lanai screen enclosure specialist for over 15 years, serving homeowners across Hillsborough, Manatee, and Polk County with installations backed by a 10-year material warranty and a 1-year labor warranty. Whether you need a new enclosure, repair and re-screening services, or guidance on maintaining your existing system, our team is here to help.
Contact Affordable Lanai today at (813) 777-5665 or visit affordablelanai.com to build and price your project online. We look forward to helping you keep your outdoor living space looking and working at its very best.